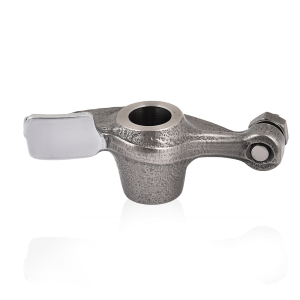
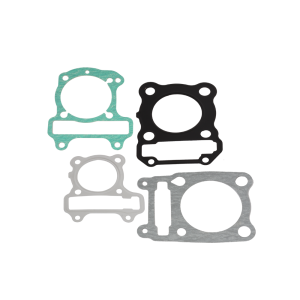
Raw Material
We use high strength silicon alloy – EN52 as the basic manufacturing material.
| Parameter |
Details |
At RITSUKA |
Chinese Product |
RITSUKA Advantage |
| BOP (Bought Out Parts) |
Steel Alloy |
BOP |
BOP |
We use High quality Silicon Alloy |
| Raw Material |
Body |
High Strength Silicon Alloy – EN52 |
Substandard EN52 |
Our product withstands extreme temperatures, pressures and hitting impact- hence it is imperative to manufacture each unit with ultimate superiority. |
Manufacturing
Designed using latest technology, our valves are made from first-rate materials. Some of the chief characteristics of our products are high strength and durability and effective performance. Moreover, we ensure delivery of our products within stipulated time frame. Also, we provide tailor-made services as per the requirements of our esteemed clients.
Fabricated Using:
- Latest technology
- Special grade casting (valve guide) and steel material (valves)
- Machined, hardened and finished accurately using machines and instruments of latest technology.
| Parameter |
Details |
At RITSUKA |
Chinese Product |
RITSUKA Advantage |
| Manufacturing |
Machining |
CNC machining centre |
Semi-Automated or Manual Machines |
By using fully automated CNC machines, we offer min. Tolerance level products with negligible rejection at final stage. |
| Design centre, Tool room and R&D facilities |
Inhouse Design centre, tool room and R&D centre |
Not available with normal chinese factories |
RITSUKA has an extra ordinary aptitude in developing customized formulations for Steel products. For Moulded products, the company has in-house tool room with integrated facilities for mould design & mould manufacturing enabling quick lead time to customers. |
| Vacuum Welding |
We use vacuum welding that is a solid-state welding process where there’s no fusion/heating at the interface of the two parts. |
Employ the usual fusion-welding processes, which involves liquid or molten phase can lead to chemical diffusion |
Ourlightweight Engine Valves offer Strength with better engine performance, improved fuel efficiency and meet changing emission norms. |
| Tempering |
1hr at 650-degree Celsius Tempering |
No Tempering |
Tempering reduces the hardness in the material and increases the toughness.Through tempering we maintain materials properties (hardness/toughness ratio) to a specified application. |
| Moulding |
Automated moulding process |
Manual Moulding process |
Automated moulding results in Relatively poor wear under heavy duty conditions and at higher friction levels |
| Heat Treatment |
Inhouse Heat treatment process |
Outsourced in most of the factories |
Grain alignment to give better raw material strength and to reduce internal stress |
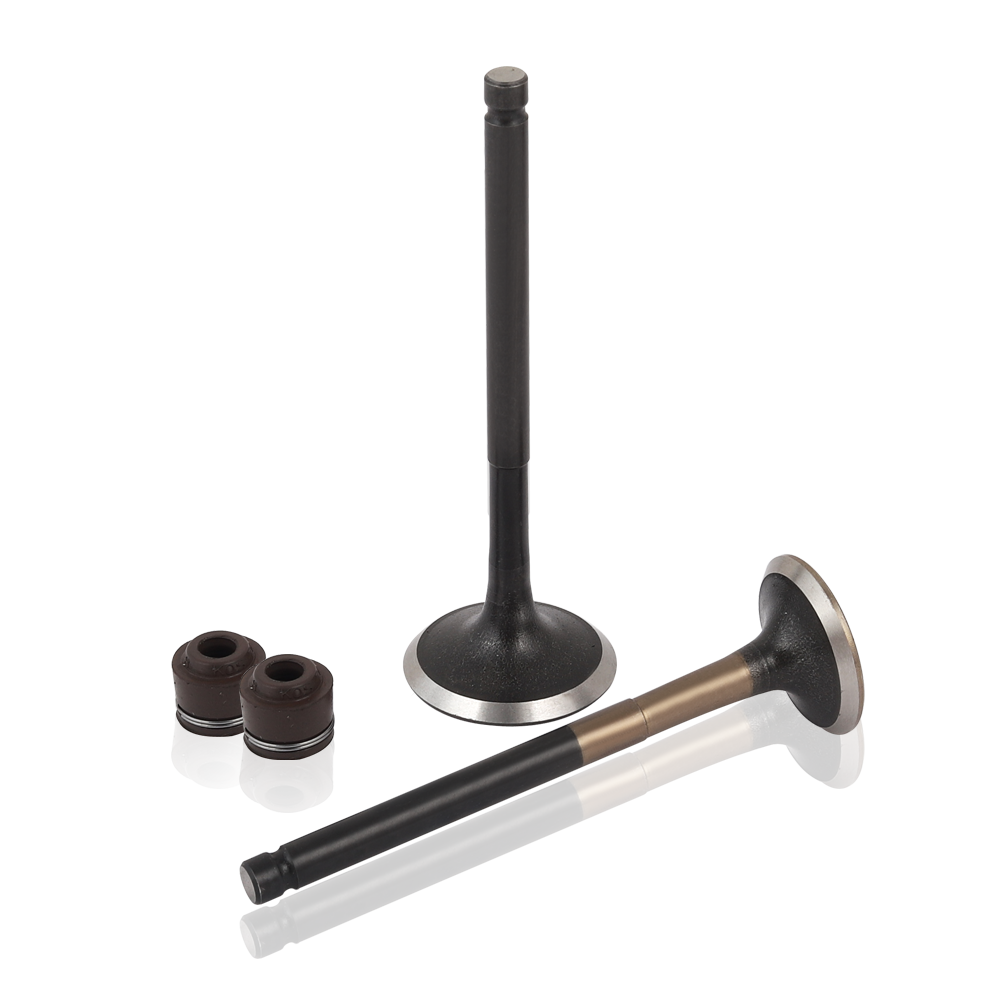
We offer two types of valves. The valve that allows mixture into the cylinder is the inlet valve. The one through which the spent gases escape is the exhaust valve. They are designed to open and close at precise moments, to allow the engine to run efficiently at all speeds. The design of engine valves ensures meeting thermal and mechanical strength requirements and wear and durability targets. The surface treatments, coating and surface finish ensures higher durability. Along with the finish, use of special materials in tip, valve stem and seats are also a part of the process completion.
Testing
Our engine valves are manufactured under strict quality control norms laid down by ISO 9001 following the specification tests of required tolerance before dispatching to market. The grain flow detection by micro tech examination, crack-detection and microstructure tests compulsorily go through to make sure that our products maintain highest of quality. We coat each valve with suitable anti-corrosive oil and wrap it in anti-rust paper to prolong the life. We put highest emphasis on ensuring the quality of its products. Our valves have quality assuranceplan in accordance with TS Certification.
| Parameter |
Details |
At RITSUKA |
Chinese Product |
RITSUKA Advantage |
| Testing Standards |
Incoming Parts |
100% Inspection & Testing |
Random / No Testing |
Committed to offer same quality / specifications product with every lot |
| In process |
Inhouse facility includes
- Material composition test
- Random Dimensional check with Three axis coordinate measuring machine
- Hardness Test
- Rocker Arm Ratio
- Surface Roughness test
|
- Visual testing
- On demand testing from external agencies
|
- Controlled Standard Parameters at every Process
- Three axis coordinate measuring machine
- Hardness Test – With the intention to make the metal the hardest, our HRC is 60-62. Longer carburizing times and higher
- Surface Roughness Test – Ours is exceptional =RA.
- Rocker Arm Ratio – Our lies between 1.8: 1.0.
|
| Final Inspection |
Fitment check using pneumatic gauge, Hydraulic / Electronic Universal testing machines |
Manual inspection |
Ensures safe operation and adequate durability We have both Electronic and Hydraulic universal testing machine (UTM) for testing the tensile strength and compressive strength of materials used in manufacturing |
While the design of engine valves ensures meeting thermal and mechanical strength requirements and wear and durability targets. The surface treatments, coating and surface finish ensures higher durability. Along with the finish, use of cobalt alloy in tip, valve stem and seats are also a part of the process completion. Effects of various design parameters are studied through a simulation test. Various solutions are also evaluated based on performance and cost. So, our finishing lends us more quality to perfecting a spare part.
Dimensional Test Report
| Model |
CG125 |
|
P. NO. |
|
Inspected |
|
| Item Name |
IN. Valve |
|
QTY |
5 |
Confirmed |
|
| Item No. |
|
|
Inspection QTY: |
5 |
Checked |
|
| Material |
4Cr10Si2Mo |
|
Date: – 12Dec2017 |
|
Conclusion |
Qualified |
21SurfaceFault-freeVisualFault-freeQualifiedConclusionQualified
| S.NO. |
Inspections Item |
Qualification |
Tool |
Result |
Conclusion |
| 1 |
2 |
3 |
| 1 |
crack detection |
no crack |
fluorescent fault detector |
no crack |
no crack |
no crack |
Qualified |
| 2 |
In the face of the taper face rod axis oblique runout tolerances |
=0.03 mm |
micrometer gauge |
=0.02 mm |
=0.01 mm |
=0.02 mm |
Qualified |
| 3 |
metallographic |
JB/6720-93 |
metallographic microscope |
Qualified |
Qualified |
| 4 |
Depth of tungsten chromium alloy surfacing |
1.20 -1.50 mm |
calipers |
Qualified |
Qualified |
| 5 |
metal macro organization |
JB/6720-93 |
Acid Washing/Visual |
Qualified |
Qualified |
| 6 |
Roundness of Rod |
=0.005 mm |
micrometer gauge |
=0.002 mm |
=0.003 mm |
=0.004 mm |
Qualified |
| 7 |
Straightness of Rod |
=0.005 mm |
micrometer gauge |
=0.004 mm |
=0.002 mm |
=0.001 mm |
Qualified |
| 8 |
diameter deviation |
=0.005 mm |
Digital display micrometer |
=0.002 mm |
=0.004 mm |
=0.004 mm |
Qualified |
| 9 |
Taper Face Height |
0.7±0.15 |
GO-NO GO FIXED GAUGES |
Qualified |
Qualified |
| 10 |
Rod Hardness |
Surface |
= HV0.2 600 |
Vickers Hardness Tester |
Qualified |
Qualified |
| Inside |
HRC 30-40 |
Rockwell Hardness Tester |
37 |
36 |
35 |
Qualified |
| 11 |
End Face Harness |
HRC 50-60 |
Rockwell Hardness Tester |
56 |
54 |
55 |
Qualified |
| 12 |
Rod Diameter |
5.450-5.465 mm |
Digital display micrometer |
5.454 |
5.457 |
5.461 |
Qualified |
| 13 |
Taper Face Angle |
90-91 |
Goniometer |
90′ |
90′ |
90′ |
Qualified |
| 14 |
Taper Face Surface Roughness |
Ra 0.4 |
Roughness Sample |
0.4 |
0.4 |
0.4 |
Qualified |
| 15 |
Rod end face to face stem axis circular runout tolerances |
=0.03 mm |
micrometer gauge |
0.01 |
0.01 |
0.01 |
Qualified |
| 16 |
End Surface Roughness |
Ra0.4 |
Roughness Sample |
0.4 |
0.4 |
0.4 |
Qualified |
| 17 |
Rod Roughness |
Ra0.4 |
Roughness Sample |
0.4 |
0.4 |
0.4 |
Qualified |
| 18 |
Clip Concave Diameter |
4.65-4.70 |
GO-NO GO FIXED GAUGES |
4.66 |
4.67 |
4.68 |
Qualified |
| 19 |
Length |
93.3± 0.15 |
Calipers |
93.36 |
93.35 |
93.38 |
Qualified |
| 20 |
The symmetry of the pin hole axis to the axis of the rod |
=0.05 mm |
Calipers |
0.03 |
0.02 |
0.04 |
Qualified |


